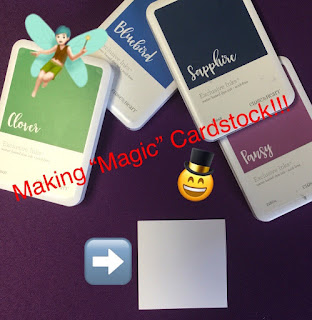
Making "Magic" Cardstock
It's summertime! That means there are children home from school and needing activities to keep them entertained and having fun. I made a video today to show you a fun crafting project that will amaze children (and adults)!
Isn't that fun! What did you think of this video? Pictures magically appearing on the surface of the cardstock are sure to entertain children on a rainy day.
The measurements I used for the magic paper and little note cards are:
- I started out with 3" x 3" squares of the White Daisy Cardstock, but once the magic appears and the cardstock dries (either naturally or with the help of a heat tool) I trimmed them to be 2.5" x 2.5" square.
- The patterned paper is cut to 2.75" x 2.75" square.
- The notecards are made from a strip of the White Daisy Cardstock cut to 3" x 6" and folded in half.
Here are the completed samples from today's video.
I guess that is it for today! If you have any technique questions, suggestions, or comments then please leave them for me in the comment section below.
Happy Paper Crafting,
Rebecca


Adorable cards; fun technique for any age! Thanks for sharing.
ReplyDelete